
How to Use The Upper Navigation Bar in WordPress (Helpful Shortcuts)
- Fahad H

- Mar 20, 2019
- 2 min read
You’ve created your WordPress site and now it’s time to get up close and personal with the upper navigation bar. The left-hand navigation bar is where you’ll be spending the bulk of your time within your WordPress site. When you’re logged into your admin section you’ll see a black bar with white text running across the top of the screen.

This bar contains plenty of helpful shortcuts that can navigate you to different aspects of WordPress. When you hover over “Visit Site,” you’ll be able to access your site within this bar. Clicking the text will cause your site to open up in the same tab (right-click it to open in a new tab if you’d like to keep your dashboard open).
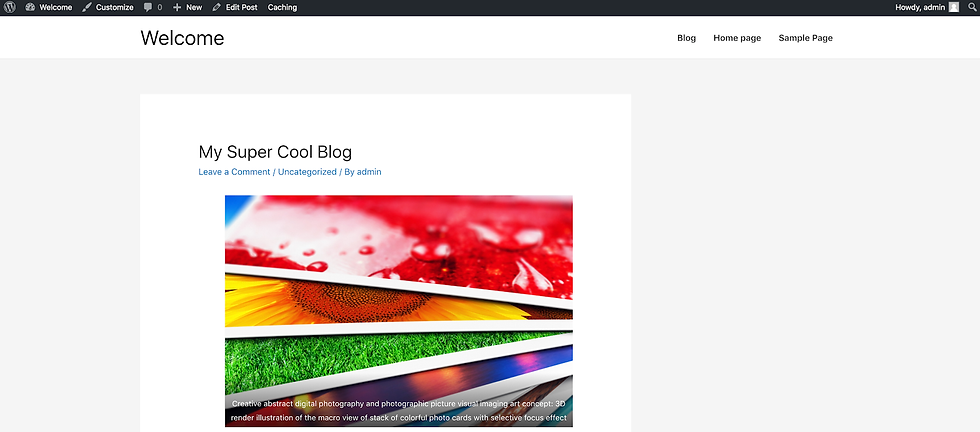
As you access your live site, you’ll see the black bar remains, giving you access to the same shortcuts and an easy path back to your WordPress dashboard if you opened your live site on top of it.
Quick Edits
On occasion, you may find yourself needing to make several quick changes to your WordPress posts or pages. Depending on the type of edits that need to occur, you may be able to handle this using WordPress’s quick edits feature, rather than opening each post or page manually.
To access the quick edits option, hover your cursor over the title of the post or page you want to change from the summary screen:

This will cause the quick edits option to appear.

When clicked, this will allow you to edit the following fields:
Title
Slug
Date
Author
Password or Private post box
Categories
Tags
Allow Comments
Allow Pings
Status
Make this post sticky
You’ll still need to open each post or page individually to change its content, though making quick edits to these fields using this menu will still save you time. Now that you’ve discovered shortcuts for navigating the upper navigation bar, it’s time to create some dynamic content.


Comments